Summary
- Screen capture on newer Kindles by tapping two corners for a quick screenshot.
- Utilize Send to Kindle to access documents on your Kindle without buying through Amazon.
- Adjust margins and font size for a more book-like reading experience.
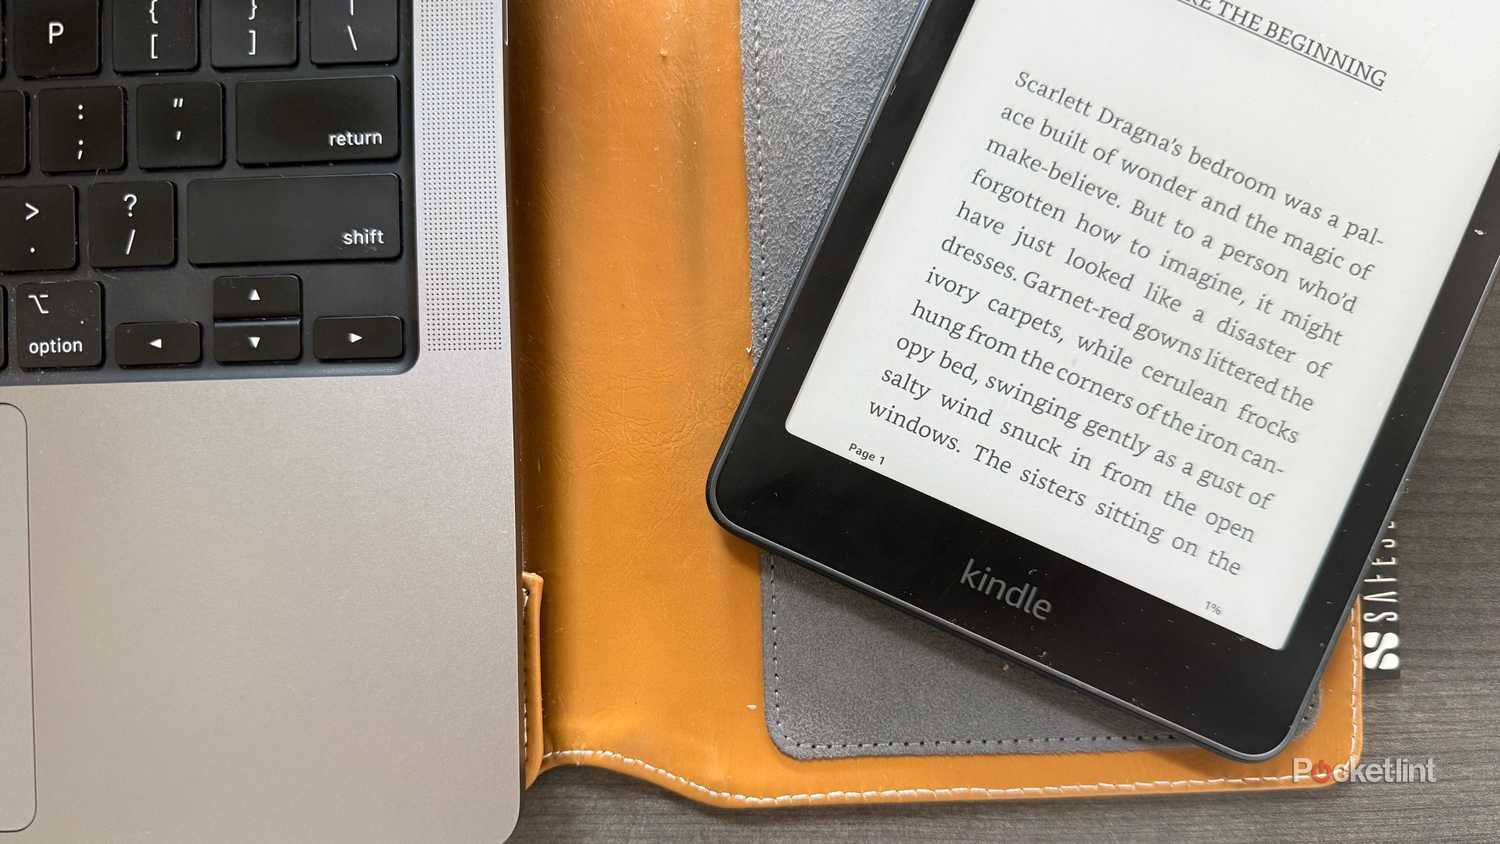
There’s no competition when it comes to my favorite device — the Kindle Paperwhite takes home the gold every time. The 16GB E Ink tablet comes with me on every morning commute, beach trip, and coffee shop run, just in case I get a few minutes to indulge in BookTok’s latest claim to fame. As a reader, carrying any kind of Kindle in your book bag is equivalent to a knight with his sword.
However, like knights, we Kindle-bearers vary in our degrees of skill. Amazon snuck features onto its tablets that not even I knew about until recently. I’m not talking about Night Mode or Highlights, either — here are five Kindle hacks that caught me off guard and are now a part of my daily practice with the single-use tablet.
- Storage
-
16GB
- Screen Size
-
6-inch E Ink (300ppi)
- Connections
-
USB-C
- Battery
-
Up to 6 weeks
1
Take a screenshot on your Kindle
And not with buttons, either
Whether it’s a sick map, a beautiful monochromatic cover, or even just a page full of quotes you need to memorialize, it’s only natural to want to take a mental picture when you read. While you can easily snap a picture of a book or Kindle with your phone, it just isn’t the same as capturing it without other annoying distractions filling up the frame. Don’t you just wish you could take a screenshot on your Kindle?
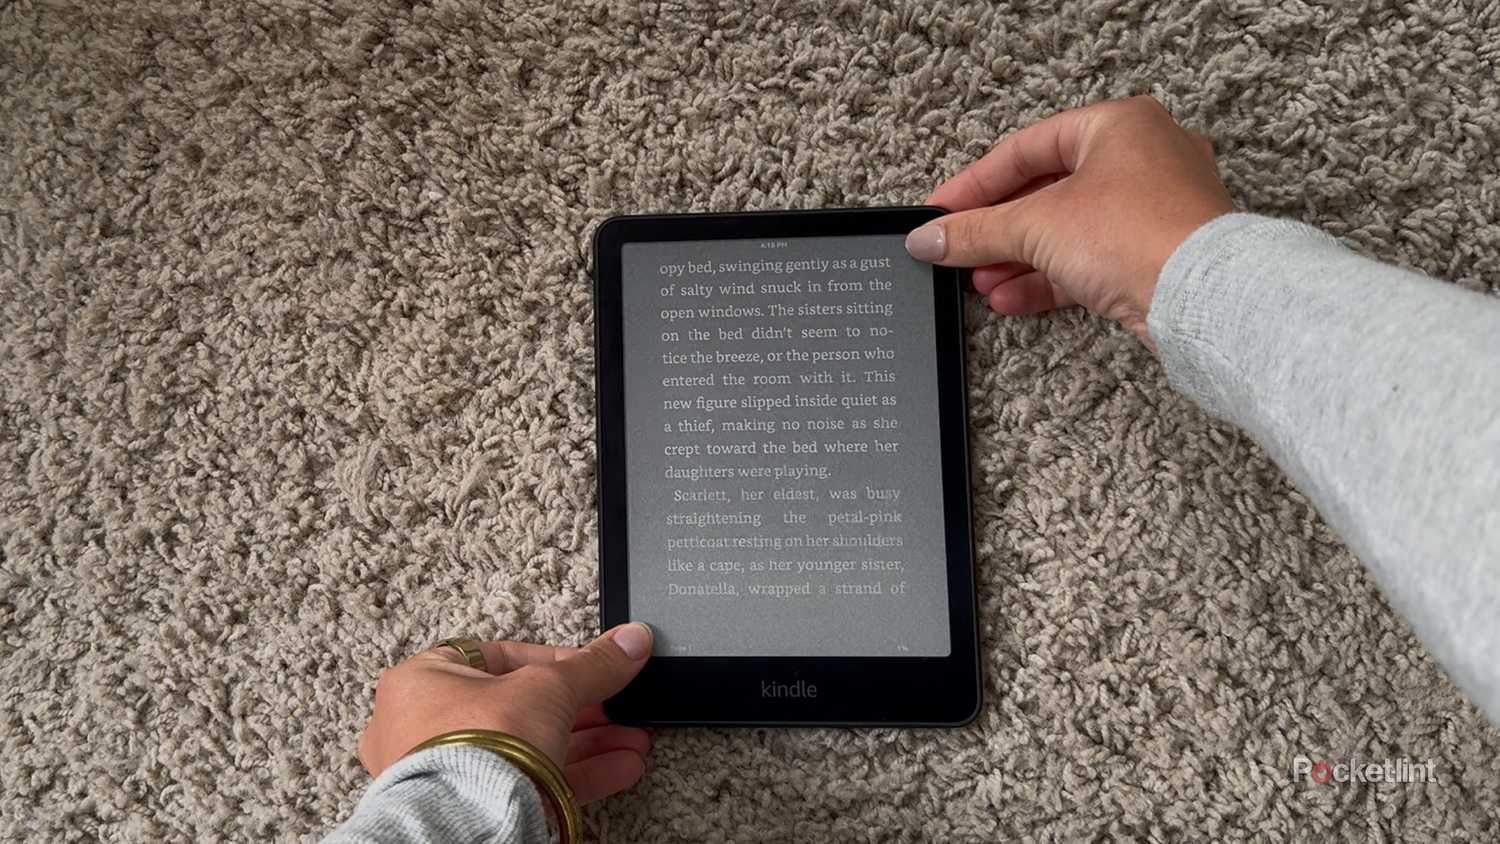
Great news — you can. On the newer Kindle models, like the 2024 Paperwhite and Oasis, all you have to do is tap two opposite corners of the screen at the same time to snag it. The screen will do a quick inverted ‘flash,’ and boom, screenshot acquired.
Both top-left-and-bottom-right and top-right-and-bottom-left corner options will take a screenshot.
You can take screenshots on other models, too. On the Kindle Touch, press and hold the Home button and tap anywhere on the screen. On a Kindle Scribe, press and hold the power button and hit Screenshot when the menu pops up.
Note that you can only access your screenshots on a computer when you connect your Kindle via USB. Once it’s connected, your device will pop up as an external drive. There, you’ll see a folder called Screenshots, and inside will be all your precious pictures.
2
Send to Kindle
Fresh eyes on not-so-fresh documents
Send to Kindle is a feature Amazon graced its users with so that they could send documents, books, and other files right to their Kindles without going purchasing through the online retailer itself. You can send these files from your computer, mobile device, or even right from apps like Word. It’s a lifesaver for students whose eyes are constantly strained by the bright screens of their laptops, or even my friend who loves to read magazine articles on her morning train ride (talk about the intersection of analog and digital in the big 2025). To grab something from the web like that, you have to use Amazon’s specific browser extension.
I like it in particular to catch up on stories from Pocket-lint that I’ve missed throughout the week. It’s a great workaround for users who have purchased books from somewhere other than Amazon, too.
3
Play with margins
I want my reading experience to be as close to a book as possible
Now here’s a particularly specific tip, and one that will make your Kindle feel even more like the hardcover titles of old:
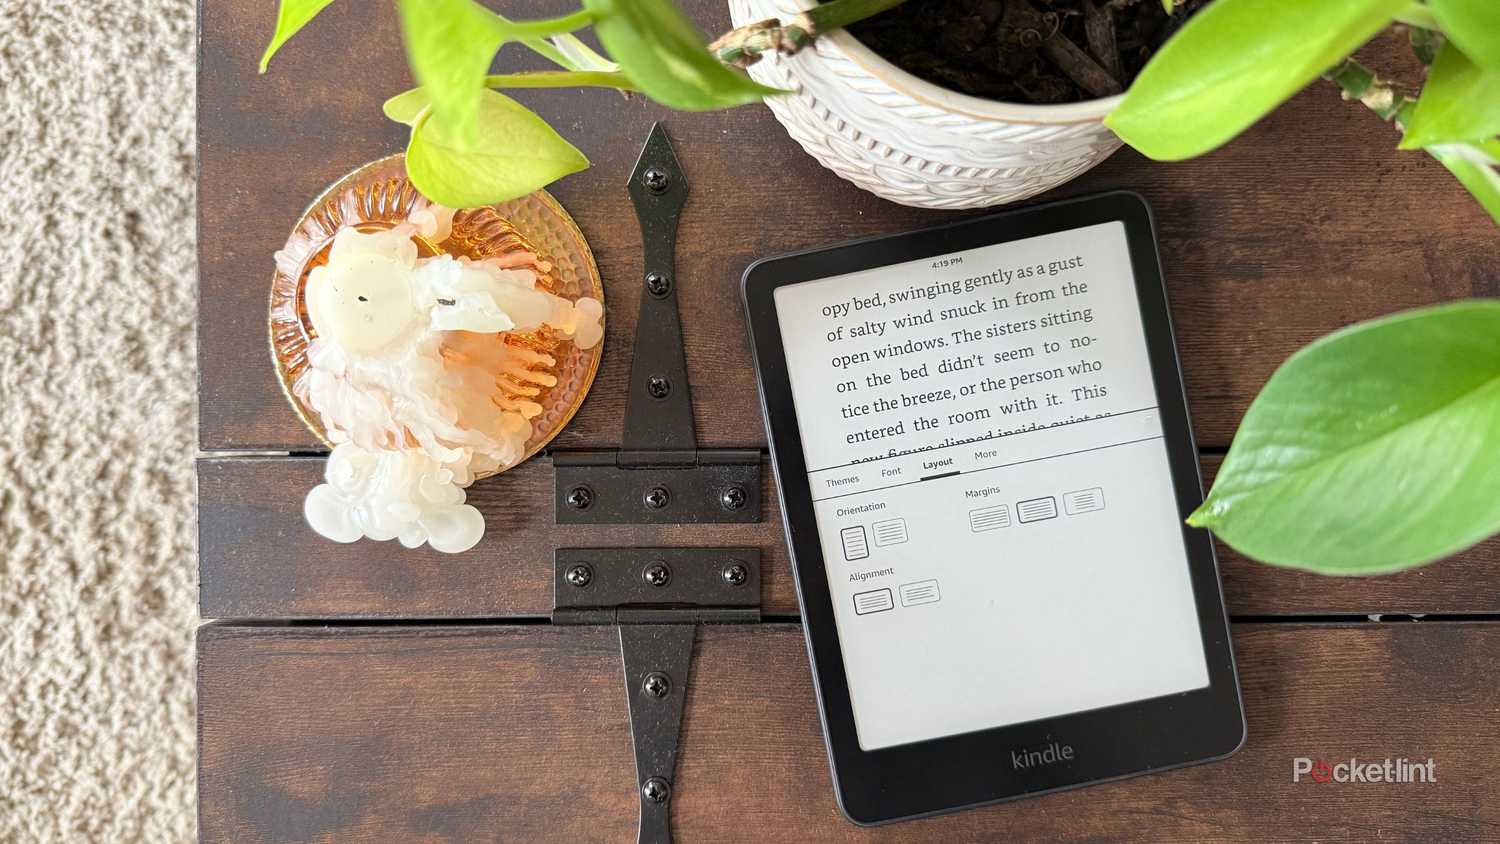
- Begin on an open read.
- Tap the top of the screen to bring up the menu.
- Tap Aa.
- Toggle over to the Layout tab.
- Under Margins, select the middle option.
- Now toggle over to Font, and set the Size to 6, 7, or 8.
You’re either going to love or hate this look. I think that it truly provides more of a longer page feel, and makes me feel like I’m reading a physical book rather than staring at a screen — even if it is the lovely E Ink. Some users claim it boosts their reading speeds.
4
Change fonts with a special short-cut
Hiding in plain site
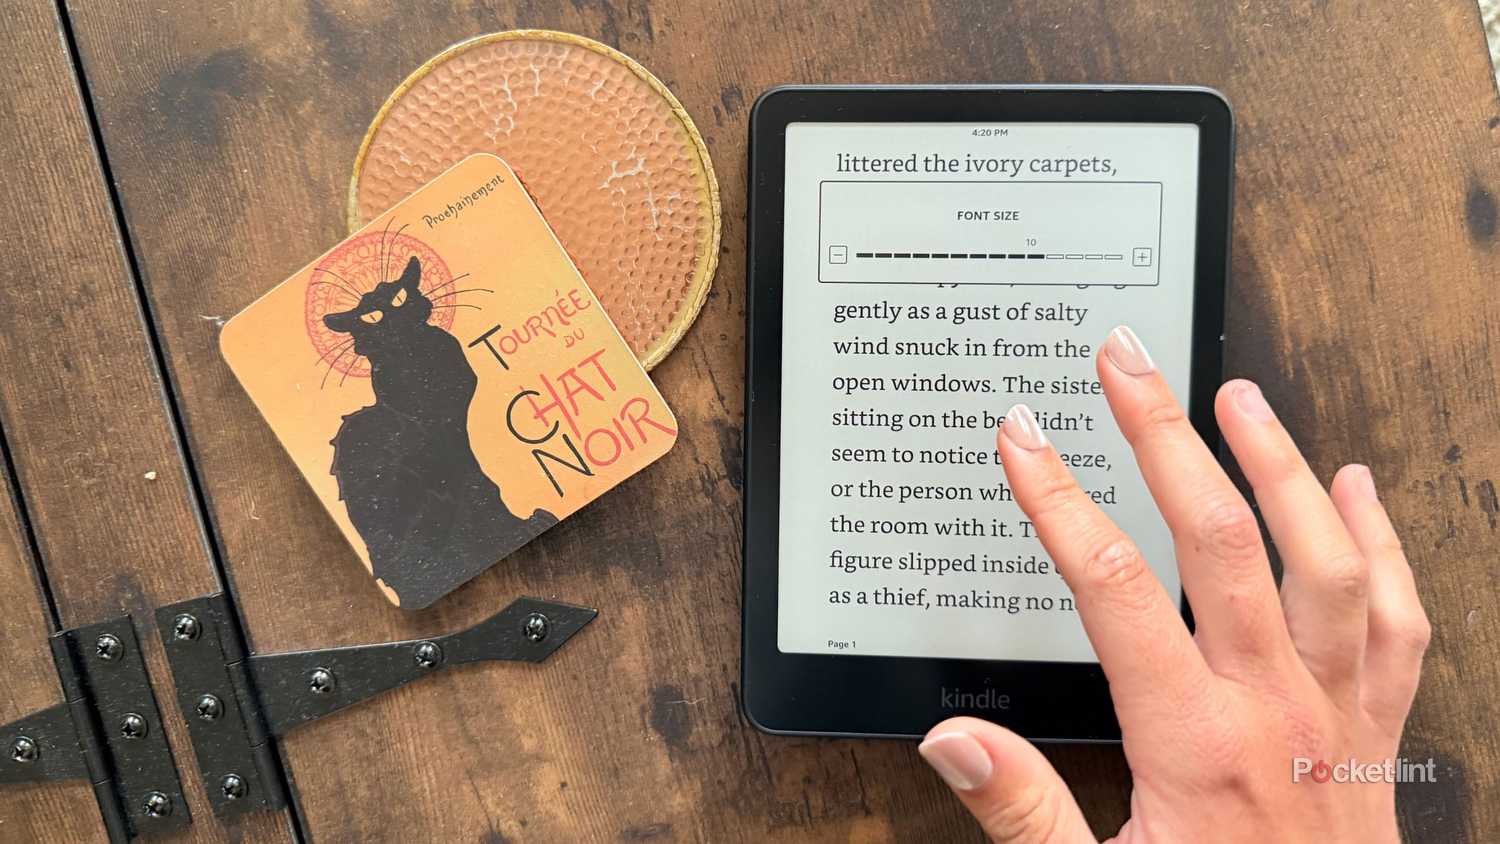
This one is incredibly intuitive, especially if you’re (also) the kind of person who’s tried to ‘zoom in’ on a physical book because you forgot you weren’t reading on a screen. If you take two fingers and spread them apart or even together on the screen — just like you would on other devices to ‘zoom in’ or ‘zoom out’ — a font size menu will appear at the top of the screen.
Careful, though. If you don’t interact with it quickly enough, it will disappear.
5
Swap between location orientations instantly
You might’ve found this one accidentally, or in a frustrating fit of “what even is ‘location'” taps. Just me? Okay, well, if you haven’t heard of this one, read on. As any Kindle owner has probably noticed, there’s a setting in the lower left-hand corner of your screen that orients you in your reading progress. You can choose between:
- Page in book
- Location in book
- Time left in chapter
- Time left in book
- None
Personally, I prefer a simple page number. But, if you’re in a time crunch and only have a few minutes to read on a plane or train, you might prefer swapping to time left in chapter or book to determine if you’re about to be left on a cliffhanger. Luckily, you don’t have to go sifting through menus to change it up on a dime. Instead, you can just quickly tap the lower left-hand corner to swap between the options until you land on the one you prefer.
Trending Products

Generic 2 Pack – 22 Inch Moni...

Antec NX410 ATX Mid-Tower Case, Tem...

Acer Aspire 5 15 Slim Laptop | 15.6...

Samsung 27′ T35F Series FHD 1...

Wireless Keyboard and Mouse Combo, ...

SAMSUNG 27″ Odyssey G32A FHD ...

15.6” Laptop computer 12GB DD...

Cooler Master Q300L V2 Micro-ATX To...

Lenovo Ideapad Laptop Touchscreen 1...


